How to Make a Personalized Storybook With Your Child as the Hero
Making a personalized storybook is mostly straightforward. The parts that go wrong are predictable, and nearly all of them trace back to the photo.
Here's the whole process, and what to watch for at each stage.
1. Choose the story first, not the art style
The story sets the tone. A night-time adventure and an undersea rescue suit different children, and the art style should follow the story rather than the other way round.
If you're buying for a child under four, favour shorter stories with simpler scenes. Around twelve illustrated pages is the sweet spot — long enough to have a beginning and an end, short enough to be read at bedtime without negotiation.
2. Pick the photo carefully
This is the step that determines everything downstream. A good photo produces a character that looks unmistakably like your child; a bad one produces a character that looks like a cousin.
What works:
- Front-facing, or close to it
- Even, soft lighting — near a window is ideal
- The whole face visible and in focus
- A neutral or gently smiling expression
What causes problems:
- Hats, sunglasses, or hair across the face
- Strong shadows, especially from overhead sun
- Extreme angles — looking sharply up or down
- Heavy filters, beauty smoothing, or low-light phone photos with aggressive noise reduction
- Group photos where the child's face is small in frame
You do not need a professional photograph. A phone photo taken indoors on an overcast day is usually better than a bright outdoor one, because the lighting is flatter.
3. Choose an art style
Each style changes how the likeness reads:
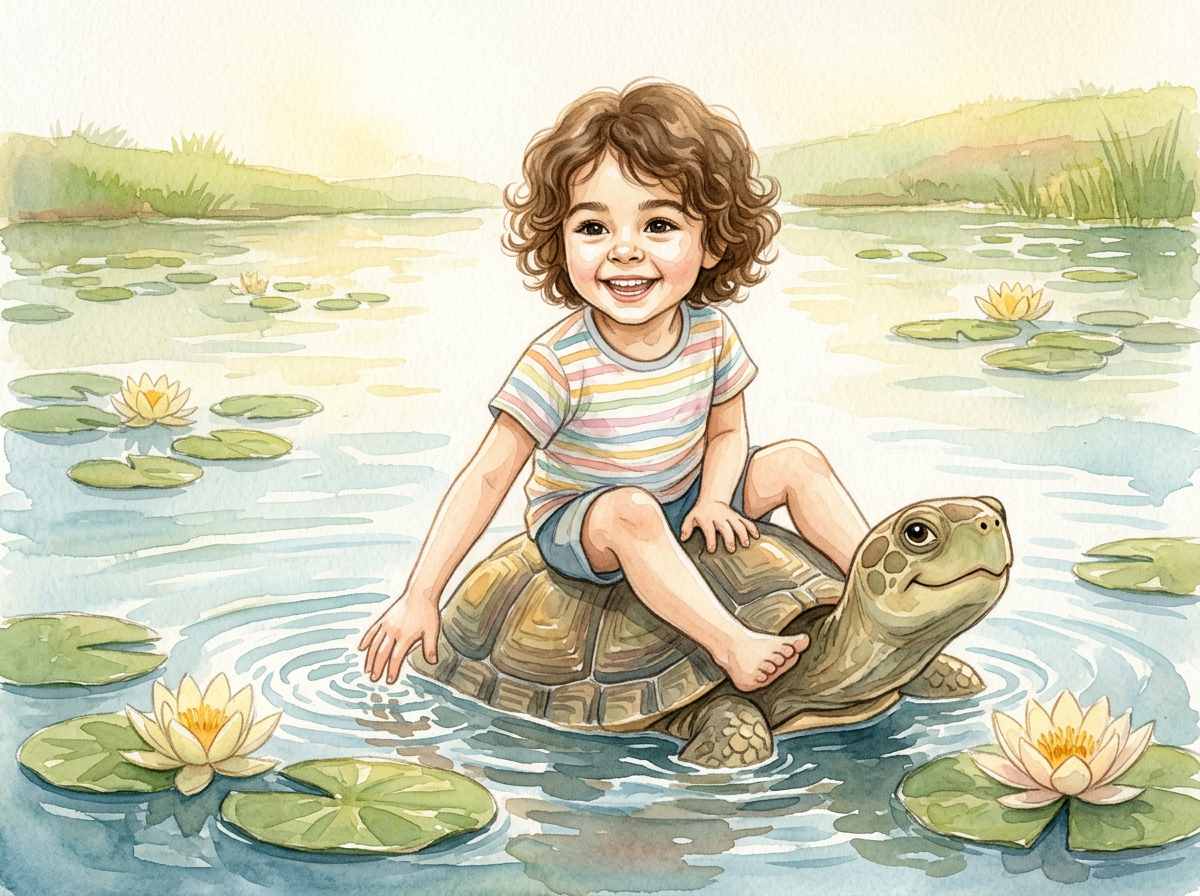
- Watercolour — soft, traditional, keepsake-ish. Beautiful, but the likeness is impressionistic rather than exact.
- Classic storybook — warm and detailed, closest to the illustrated books most adults remember.
- Flat modern — bold shapes and strong colour. Reads best for very young children.
- Comic — panelled and energetic. Suits older children.
- Pixar-style 3D — glossy and rendered. Usually the most immediately recognisable likeness, and the one children pick when given the choice.
If the book is primarily a gift for the child, pick for recognisability. If it's primarily a keepsake for you, watercolour and classic age more gracefully.
4. Check the character before the book is built
The character is generated first, before the individual scenes. This is the cheapest point at which to catch a problem.
Look at it and ask one question: would a grandparent recognise this child?
If the answer is no, try a different photo before proceeding. Fixing the character now is far quicker than reviewing twelve pages built on a likeness that was never right.
5. Review every page
Once the scenes are generated, go through them properly rather than skimming.
Things worth checking:
- Consistency. Does the character look like the same child in every scene? Children notice inconsistency faster than adults do, and it breaks the illusion immediately.
- Hands and small details. These are historically where generated illustration struggles most.
- Text placement. Make sure nothing important in the illustration is obscured.
- The cover. It's the page that gets looked at most.
Any page that isn't right can be regenerated. Do this before approving — nothing is printed until you say so, and that's the point of the step.
6. Approve and print
After approval the book goes to print and ships. Build in time: two to three weeks from order to arrival is a comfortable planning assumption, more in December.
A note on languages
If you're producing the book in a right-to-left language such as Arabic, the layout has to be genuinely mirrored — page order, text alignment and illustration placement — not just translated into a left-to-right template. A right-to-left book paginated left-to-right reads backwards, which is immediately obvious to any native reader and easy to miss if you aren't one.
Common mistakes, condensed
- Using the nicest photo rather than the clearest one. The nicest photo is often backlit at sunset. That's the worst case.
- Approving without looking at every page.
- Ordering four days before the birthday.
- Picking watercolour for a two-year-old because the adult prefers it.
None of these are fatal, but all of them are avoidable.
Frequently asked questions
What kind of photo is best for a personalized storybook?
A clear, front-facing photo with even, soft lighting where the whole face is visible and in focus. Indoor light near a window usually works better than bright outdoor sun, which creates strong shadows. Avoid hats, sunglasses, extreme angles and heavy filters.
Can I change the illustrations before the book is printed?
Yes. The character is generated first so you can check the likeness early, and every page is reviewed before printing. Individual pages can be regenerated if they are not right.
How long should a personalized storybook be?
Around twelve illustrated pages suits most children under eight — long enough for a complete story, short enough to read at bedtime in one sitting.
Which art style gives the best likeness?
Pixar-style 3D and flat modern illustration generally give the most immediately recognisable likeness. Watercolour and classic storybook styles are softer and more impressionistic, which many parents prefer for a keepsake.